Earlier this week I shared a few tips for creating your own content without hiring a professional photographer. Today I’m going to go a little deeper and share some insight behind my basic camera settings to help you get a handle on shooting in manual. You’ll have better control and overall better images if you can get comfortable controlling your settings.
Understanding Basic Camera Settings
Aperture (or F-Stop)
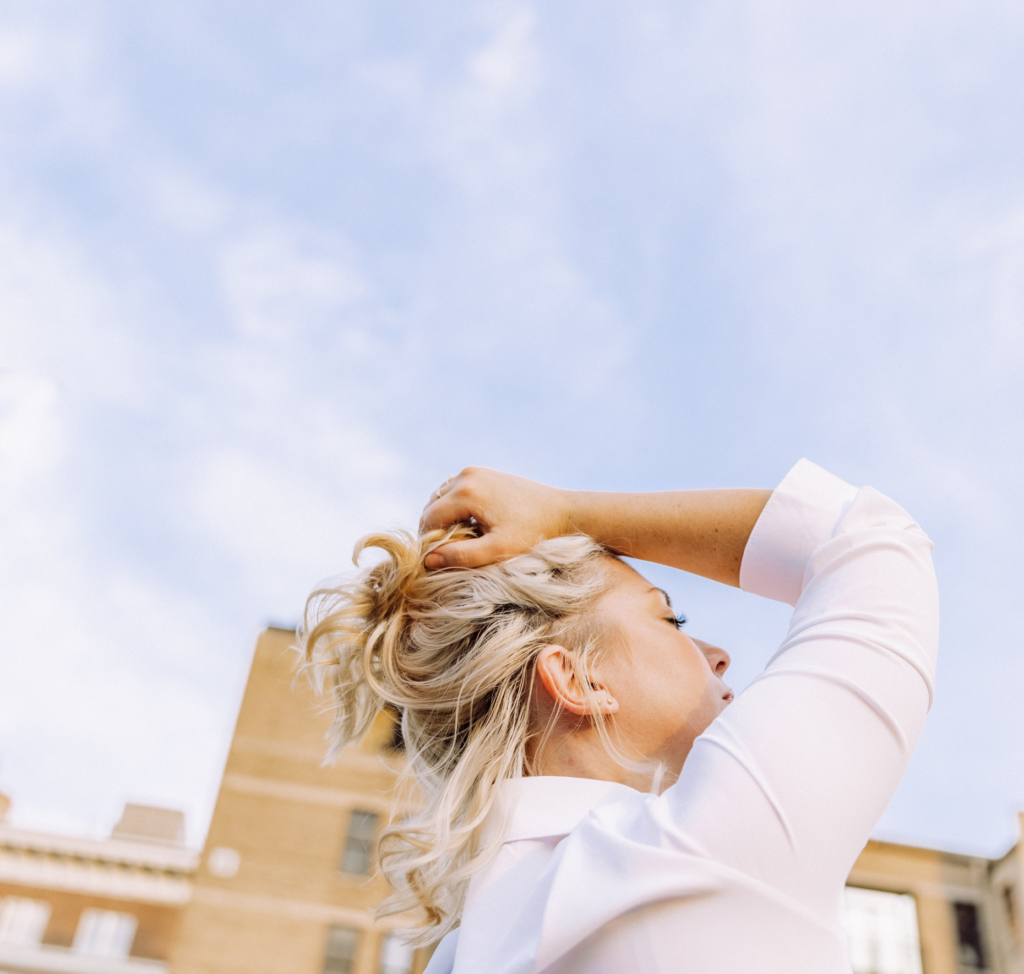
The aperture setting determines the depth of field, or how much of the image is in focus. For starters, if I’m shooting portraits inside in a naturally lit room, or outside in open shade, I tend to keep my camera’s aperture as close to 2.8 as possible. This allows for a crisp subject with a slight blur in the background.
ISO
As a general rule of thumb, it’s ideal to keep your ISO as low as possible. The ISO is controlling your camera’s sensitivity to light, so increasing the ISO will brighten your image. The caveat with ISO is that with increased sensitivity comes increased noise, or grain, in your image. To a certain point, this goes undetected, especially in the highlights. But depending on your camera, grain becomes noticeable around ISO 800 and higher.Here are two images that look about the same in terms of exposure.
Shutter Speed
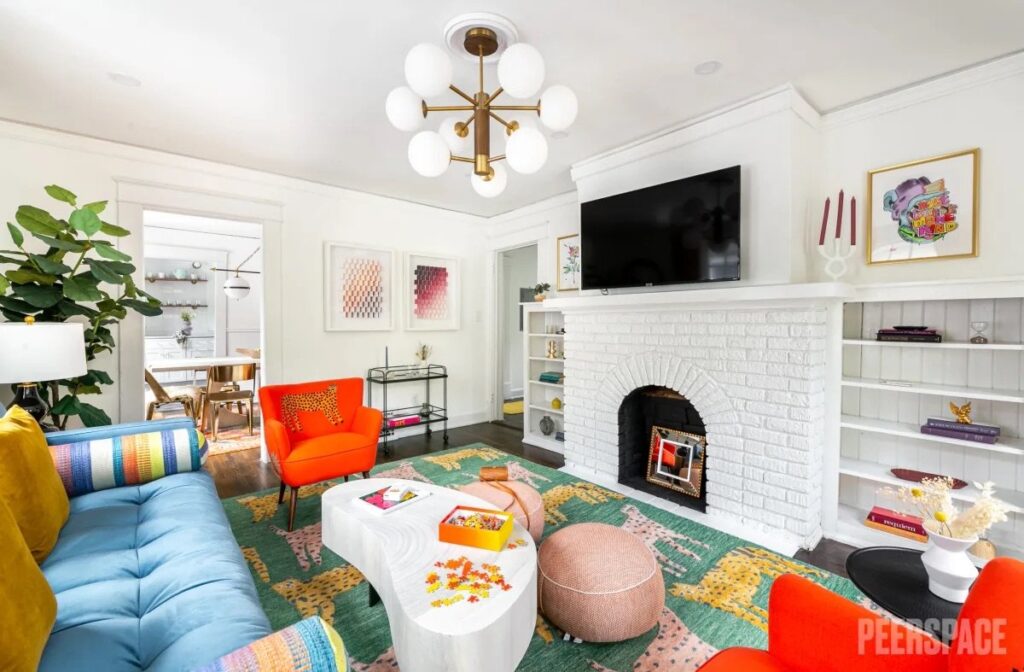
Shutter speed is probably the easiest camera function to grasp. It’s just how fast your shutter opens and closes. Simple! The slower the shutter speed, the more light is able to come through, and the more motion is visible. Without a tripod, the absolute slowest I’d set my shutter to is 1/60th of a second for a stationary subject. Usually if it’s a person, I try to stay above 1/100th. When I shoot interiors, I know I want to keep my ISO and aperture at certain values, so my shutter speed is the main setting that changes. I shoot interiors with a tripod, so I’ve been able to handle 2 second long exposures. This wouldn’t be possible without a tripod.
Putting It All Together
Now that you’ve gotten an idea of the basic camera functions, it’s time to decide how to choose your settings. I almost always start by setting my aperture based on what I’m shooting. Once my aperture is set, I’ll start with a low ISO and manageable shutter speed, (usually between 1/125 and 1/500 depending on how much light is available) then take a test shot. If it’s too dark, I first slow down my shutter speed. Then, if it’s still too dark, then I begin to raise my ISO. If the image is too bright, I adjust the shutter speed accordingly. There’s no real downside to having a super fast shutter speed unless you’re trying to capture motion. Most importantly, practice with test shots to see how different changes in settings affect your final image.My aperture setting is a stylistic choice. There are plenty of photographers who shoot as low as f1.2 and f1.4 depending on their lens, it’s just a little harder to get your subject in sharp focus this way. Use this in conjunction with my 5 Tips for DIY photography and you’ll be creating gorgeous content in no time! Be sure to keep an eye out for my presets that will be on sale later this month!

be the first to comment