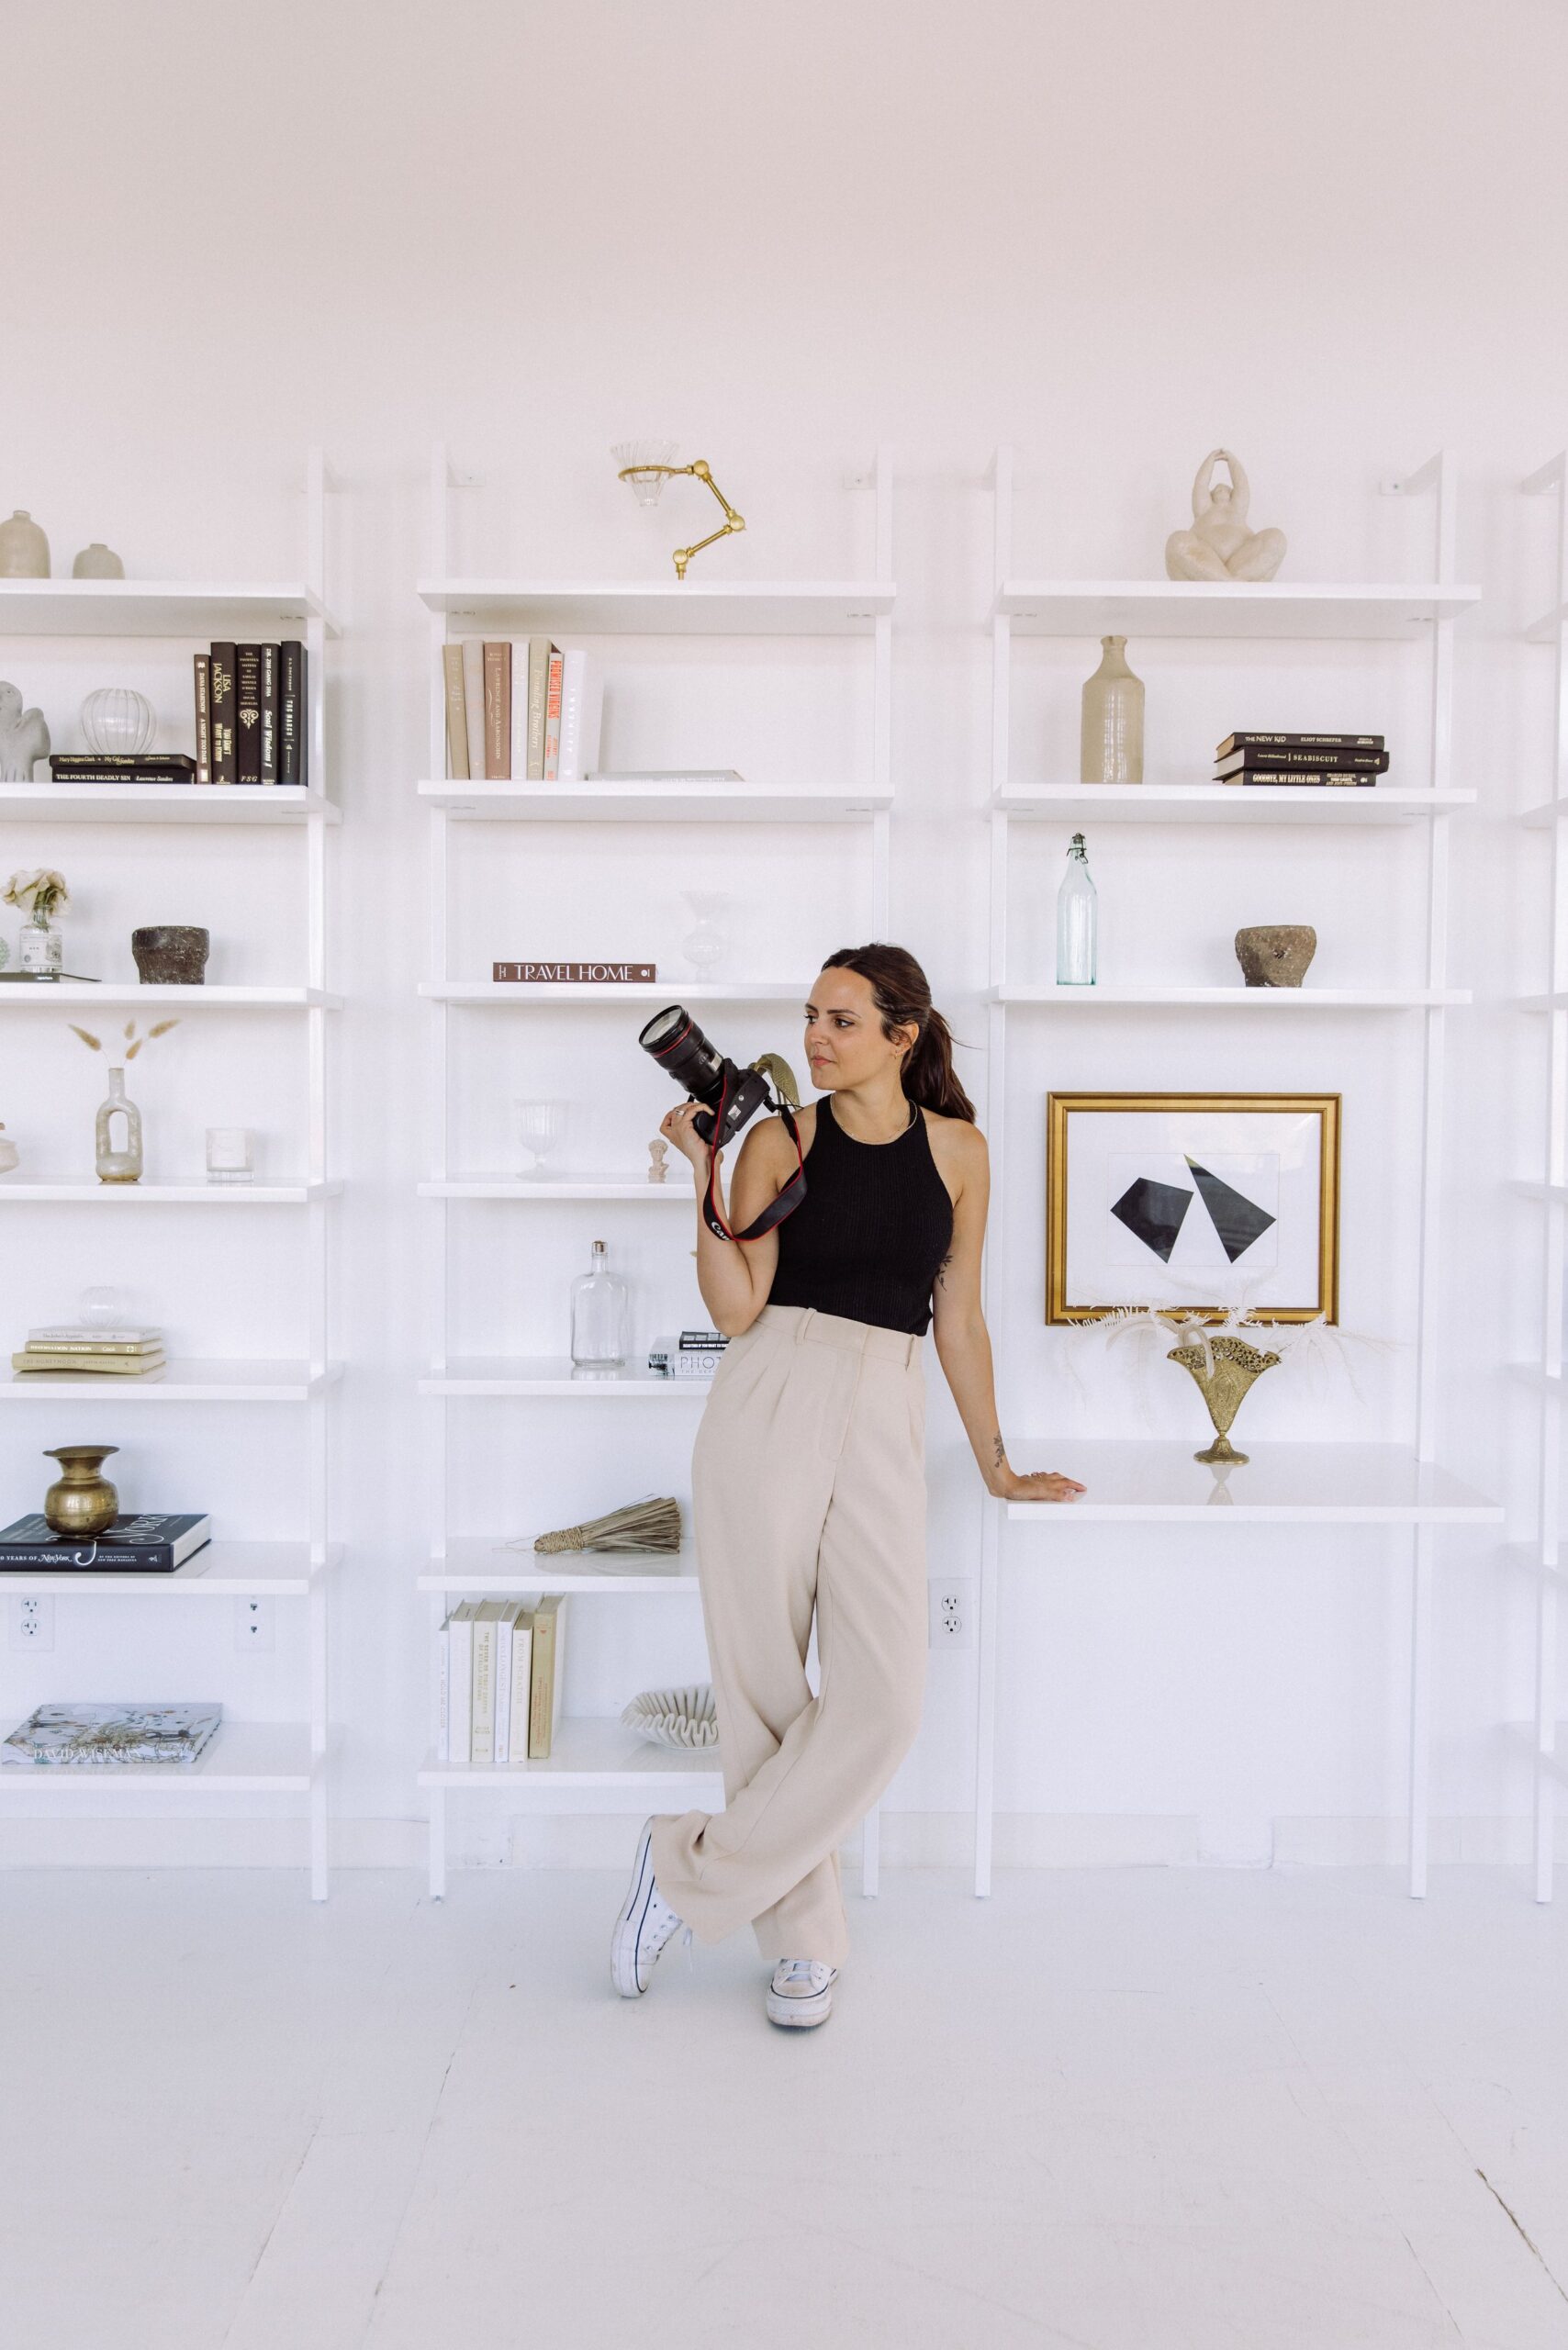
If you’re anything like me, you like to outsource to lighten your load and focus on what you really love. One of the best things to outsource? Photography. Working with a professional photographer will help create a cohesive brand image but sometimes you have to take your own images. Maybe you don’t have the budget to work with a photographer right now (and that’s okay!) or maybe you need some fresh imagery for social media in between photoshoots. Knowing how to DIY photography properly will make all the difference.
I’m here to encourage you and remind you that you can still create professional and cohesive content without a pro photographer on hand. Yeah, I said it. Don’t let this sway you from outsourcing photography, but knowing how to make it work will make all the difference! Today I’m sharing my tips on how you can DIY your photography.
5 Tips for DIYing Your Photography
Get a tripod
If your primary content is pictures of yourself, you’re going to need a tripod (or a partner, spouse, or friend who can press the shutter for you). If you have a camera with built-in wifi, you may be able to pair it to your phone for remote shooting. I shoot with a Canon 5D Mark IV and use the Canon Connect app as a remote viewfinder. You can also change the settings remotely if needed.
If you don’t have an app, use your camera’s self-timer and set it high enough to press the shutter and get back to your pose. Use something in your place to focus on so that your camera is focused on where you’ll be.
Learn Your Gear
If you’re shooting with an SLR, I highly recommend learning how to use the manual setting and shooting in RAW. You’ll have much more control over your images this way. Every camera is different, and YouTube is a great resource for learning your specific camera’s functionality. If you’re using an iPhone, play around with the different settings until you find one that you like. You can use portrait mode to make your images look a little more professional.
Find Good Light
If you’re shooting outside, avoid super harsh overhead light. It’ll create shadows on your face and without someone to hold a reflector, this could be an unnecessary challenge for DIY photography. Open shade is preferable. If you’re shooting inside, find a spot with nice window light and turn off the interior lights. Because sunlight is at a different temperature than lightbulb light, mixing the two can cause trouble with the colors in your photo. Instead, try to use natural light as much as possible. When shooting products or flat lays, bring your surface close to a window.
Download Lightroom
If you don’t usually shoot and edit your own photos, you’ll want to download an editing software like Lightroom to organize and edit your photos. I use Lightroom Classic CC for all editing. There’s also a mobile app if you prefer to work on your phone (and there’s nothing wrong with iPhone photography).
Find Presets that are Cohesive
Nothing sucks more than a crappy Instagram filter mixed in with professionally edited photos. If you have a regular photographer, they may be willing to share information about their presets, whether custom or from a third party. If they are custom, offer to purchase them.
Tired of DIYing your photography and ready to work with a photographer to capture beautiful images for your brand? Contact us today to learn more about our photography packages!

be the first to comment